Thread Repair Tool Wear- Thread Inserts High-strength For Zinc Alloy For Engineering Plastics For Aluminum Alloy For Copper 1D 1.5D 2D 2.5D 3D
Description
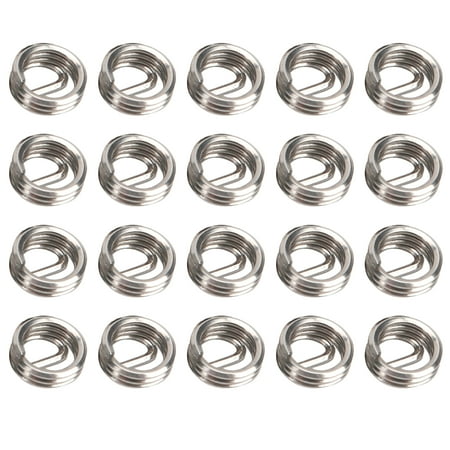
Thread Repair Tool Wear- Thread Inserts High-strength for Zinc Alloy for Engineering Plastics for Aluminum Alloy for Copper 1D 1.5D 2D 2.5D 3D Specification: Item Type: Thread Inserts Material: SUS304 Model: M2.5x0.45 Thread Specification: M2.5x0.45 mm Outside Diameter Before Installation: Approx. 3.2 ~ 3.5mm / 0.1 ~ 0.1in Diameter of Drilling Drill Bit for Installation: Approx. 2.6mm / 0.1in1D/1.5D/2D/2.5D/3D: Length After Installation: Approx. 2.5mm / 0.1in3.8mm / 0.1in 5.0mm / 0.2in 6.3mm / 0.2in 7.5mm / 0.3inNumber of Turns Before Installation: 2.6/5.9/8.2/10.5/12.8Thread Protective Sleeve Model Specification Description: For Example: M3x0.5X1.5D which means that after the screw set is completed the female thread is M3 the pitch is 0.5 and the length is 1.5D length refers to 1.5 times the diameter that is 1.5x3=4.5mm the length here refers to the length after installation.How to Use: 1. Drilling Use the drill bit of the size listed in the parameter table of the wire thread insert to drill the hole. Be careful not to drill the hole into a cone shape. The chips generated by the drill hole must be blown out with compressed air. After drilling the counterbore should not exceed the depth of 0.4 pitch. Too large counterbore is not conducive to the screwing of the wire thread insert. 2. Tapping Use special taps for wire thread inserts to tap. The depth of the tapping must exceed the installation length of the thread inserts. After tapping use a compressed air spray to blow out the debris. When the thread accuracy is high check the tapped bottom hole with a special bottom hole plug gauge for wire thread inserts. 3. Installation Put the wire screw sleeve into the installation wrench figure 5 on the right insert the wire screw sleeve installation tail handle into the guide rod of the installation wrench and turn the handle of the installation wrench to screw the wire screw sleeve into the screw hole. For installation of M14x2 or more phase thread thread inserts you can use the T type slotting simple tool to install; Note: During the installation and screwing process of the thread inserts there should be no pressing in the vertical direction to prevent jumping teeth. The correct method is slowly screw in the direction of thread rotation. 4. Remove the handle break off the mounting handle Use a breaker to break the mounting handle. Use about 200g of coconut to hit the breaker instantly and the handle can be removed. Do not use the mounting wrench to rotate in the opposite direction. Do not break the mounting handle. This situation is very easy. As a result the tail shank was broken and the wire was pulled out. 5. Unscrew When installation problems occur during the installation of the wire thread insert such as jumping teeth the thread insert needs to be removed and a special sleeve remover should be used to remove the wire thread insert. Package List: 100 x Thread Inserts
Price history chart & currency exchange rate


")


")


")


