220V 20W 42 Egg Automatic Digital Incubator Chicken Poultry Hatcher Temperature Control

Eachine1
sku: 1451632
ACCORDING TO OUR RECORDS THIS PRODUCT IS NOT AVAILABLE NOW
$32.54
Shipping from: China
Description
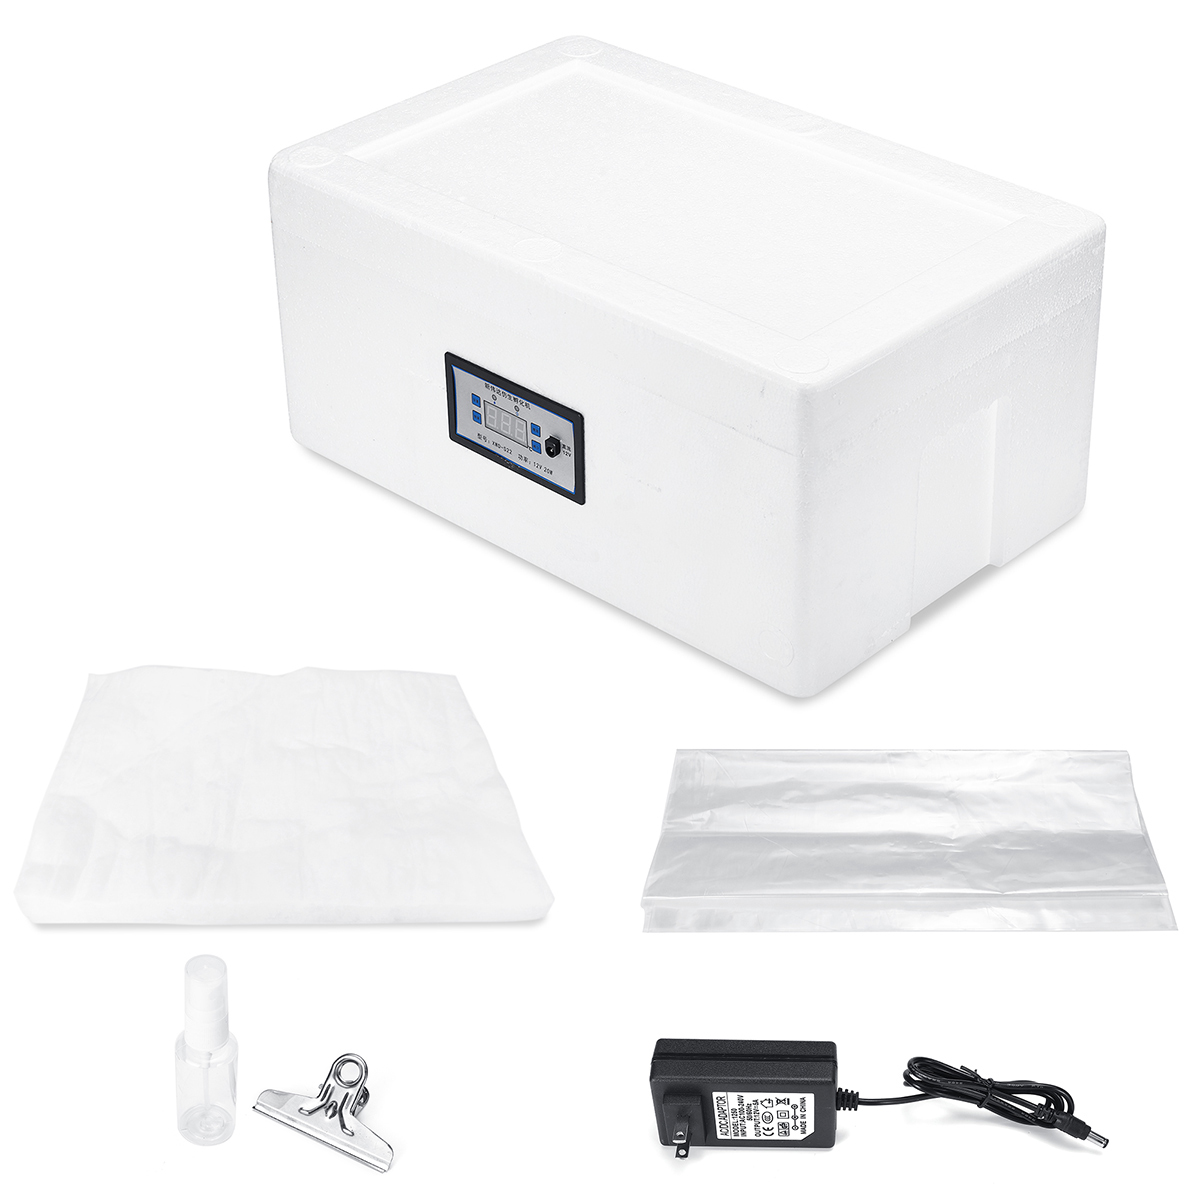
Features: - Made of EPS foam material, good insulation performance and uniform temperature. - Suitable for breeding eggs of various sizes, low noise, and easy to use. - High temperature controller with small temperature difference, high hatching rate. - This is a semi-automatic incubator, which requires manually turning the Eggs for 4-6 times a day. Specifications: Plug: US Plug (We will base on your country to send the corresponding adapter plug) Material: Foam Color: White Voltage Rating: 220V AC 10%50HZ Power Rating: 20W Input Voltage: 12V DC 10% Output Voltage: 12V DC 10%2A Temperature Test Accuracy: 0.1 Environment Humidity: 85%RH Ambient Temperature: -10 - 38 Size: Approx. 49.5x29.5x21cm/ 19.49x11.61x8.27" Button Instructions: 1. Temperature setting Under the normal display state, short press "set" key, the screen flashing number is the temperature, press "+" or "-" key to adjust to the required temperature, and then press "set" key, the machine will automatically save and exit. 2. Eggs lighting operation Short press the "ligting" button to illuminate the egg. 3. Quickly restore the factory settings Hold down the "+" and "-" keys together and do not raise your hand (about 5 seconds). The buzzer sounds and the screen flashes once to indicate that the control panel has successfully restored all factory default data (including previously calibrated temperatures). How To Use: Step 1: Add the appropriate amount of fresh water (30) to the hatching water bag and prepare it for use. Step 2: After receiving the incubator, lay the lower heating mat flat. Place the water bag on the heating pad. Clipped the water bag to prevent water from spilling out. Step 3: Place the temperature sensor on the water bag and fix it with tape(Be sure to place on the surface of the water bag, contact with the water bag). Step 4: Start testing the machine and wait the temperature is stable, then placing the sterilized eggs evenly on the water bag inside the incubator. Step 5: In the incubator, after the hatching eggs are placed, the breathable and warm quilt is laid on top of the eggs, don't be too loose or too tight, and the hatching process does not need to cover the lid of the incubator. If the temperature is low, the quilt needs to be covered tightly; if the temperature is high, do not cover it too tightly. Step 6: The watering can is filled with water and placed in the machine to keep the kettle water temperature consistent with the temperature of the eggs. Spray water three days before hatching and spray 2-3 times a day. Note: * Be sure to test whether the water bag leaks, otherwise it will lead to the risk of short circuit. * Must ensure that the covered material is breathable and that there is enough oxygen in the incubator. * Invert the eggs in the incubator every day (2-3 times/day). Do not take away the warmth when turning over the Eggs. Package Included: 1X Incubator 1X Mini Sprayer 1X Clip 1X Clear Plastic Bag 1X US Plug Adapter
Price history chart & currency exchange rate


